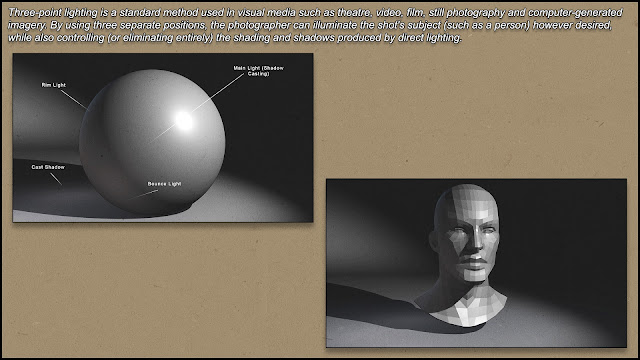
This week in 2D, we learn about three point lighting. Three point lighting technique is widely used in photography, film and game.
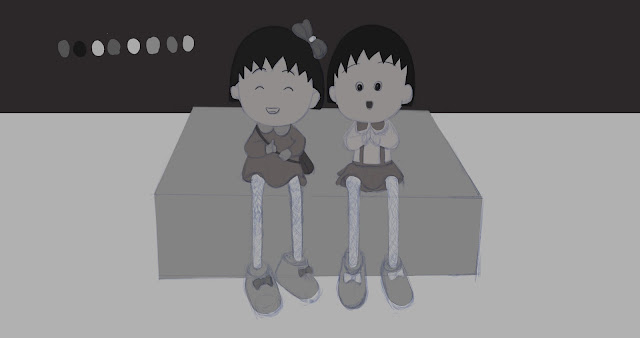
For this assignment, I set up my own 3 point light on my two Chibi Maruko Chan toys.

Then, I did some sketches to establish the proportion.

Then I prepare my selection layer by shading them with different solid color.

Here, I shade my images with different values
Then I add value and lighting details for the image.
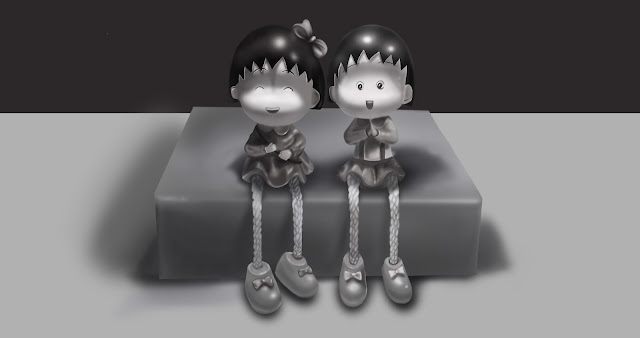
The most challenge part for me is rendering different surface materials.

My final result with color. I have a better understanding of basic lighting by going through this assignment. Painting in Photoshop is so much fun for me, I will keep practice my digital painting skill.
Time spend: 10 hours
Piece turned out very well. Watch adding just black into your yellows, they become muddy if you do. Add a slight color (red) into our darkness in the yellow.
ReplyDelete